


Bloxorz Guide: Block Orientation, Safe Routes and Exit Planning
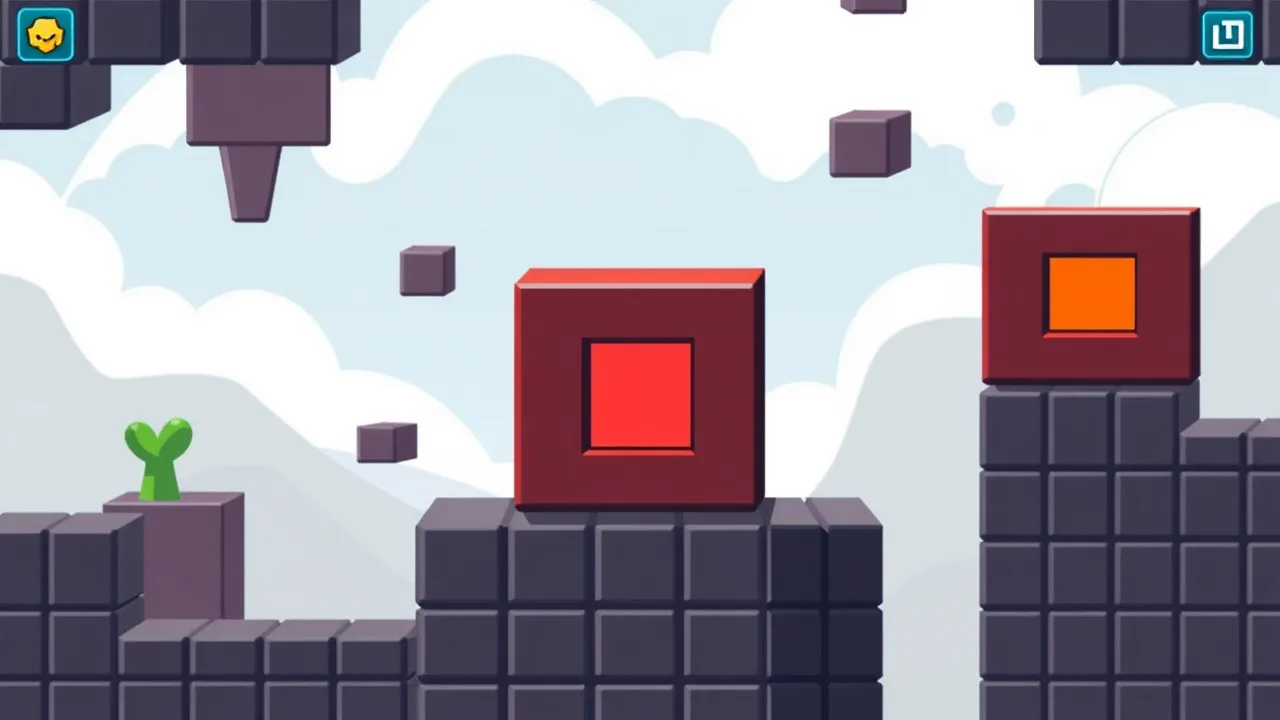
Bloxorz is a puzzle about position and orientation at the same time. Reaching the square beside the exit is not enough if the block arrives lying in the wrong direction. The most useful habit is to stop thinking of the block as a cursor and start thinking of it as a shape with a changing footprint. Every roll changes which tiles must support it and which moves will be available afterward.
The hosted Bloxorz game is the block-rolling version with a square exit hole. Its distributor identifies 33 levels and lists WASD or arrow keys for movement, with Space for switching between separated blocks. The Bloxorz collection is a focused route back to that puzzle. This guide explains how to reason about a level without relying on a copied sequence of keys that may belong to another board.
Learn the three basic orientations
The rectangular block can stand upright on one tile, lie along a row, or lie along a column. Those are different states even when they occupy the same neighborhood of the platform. An upright block tipping over needs room for its longer side. A flat block rolling along its length changes differently from one rolling sideways. Watch these changes on a safe area before approaching an edge.
A practical state description includes the covered tiles and the orientation. Saying that the block is near a bridge is too vague. Saying that it is upright at the bridge entrance tells you which next rolls are possible. This extra detail is the difference between useful route memory and repeating a path that leaves you misaligned at the final turn.
Separate support from scenery
Identify the actual platform tiles and the empty space around them. The block must remain supported after each move. A long flat footprint can extend beyond an edge even when part of the block is still over the platform. Do not judge safety only by the center of the shape or by whether one end appears close to a tile.
Near a narrow corridor, predict the complete footprint of the next state before pressing a direction. If there is no room for both tiles of a flat block, the move is unsafe. This is why an apparently small turn can fail while a longer route around an open area works. The longer route may create the orientation required by the corridor.
Work backward from the exit
The final objective is to drop into the square hole while upright. Start by examining the tiles around that hole. From which adjacent positions could a roll produce the required upright landing? Those positions become intermediate goals. You now have a smaller problem: reach one of those states with the correct orientation, rather than simply travel toward the hole.
Continue backward for another move or two. If the required approach uses a flat block along a narrow strip, ask where that flat state can be created safely. The answer may be a broad area farther away. A route that initially moves away from the exit can be necessary because it prepares the final approach. Distance on the screen is a poor substitute for orientation planning.
Use open areas to change alignment
A wider platform gives you room to roll the block through several orientations. Instead of rushing across it, treat it as a place to prepare for the next bottleneck. Decide how you want to leave the area, then experiment with short loops that return you to the same region in a different orientation or at a different offset.
For example, suppose the exit corridor accepts a block lying vertically, but your direct approach leaves it horizontal. Repeatedly pressing toward the corridor will not change that mismatch. Return to the open tiles and search for a loop that changes the alignment. The useful discovery is not a longer route for its own sake; it is a route that reaches the entrance in a different state.
Treat switches as changes to the board
When a level introduces a switch, observe what changes after it is activated. A bridge or passage may become available elsewhere. Record the relationship between the switch and the affected tiles before continuing. A route is no longer described only by the block's position; the board's current configuration matters too.
Different switches can respond differently to the block's contact. Use the level's explanation and visible response to establish whether a particular switch needs an upright block or can be activated while the block lies across it. Avoid assuming that every marked tile behaves identically. Test a new mechanism from a recoverable position when possible.
After opening a passage, plan the return route. It is possible to reach a switch successfully and still leave the block unable to approach the new bridge in a useful orientation. Ask two questions together: can I activate it, and can I leave it in the state needed for the next section? Solving only the first question often creates a repeated dead end.
Handle special tiles conservatively
Some boards introduce tiles or mechanisms with rules beyond ordinary support. Read the instruction shown when a new element appears. If a tile cannot support a particular orientation, a path that works across normal tiles may fail there. Do not treat a new color or symbol as decoration until you have checked its behavior.
You can learn a mechanism without committing to a complete route. Approach it, make one controlled test and observe the result. If the attempt fails, record what the failure established. Knowing that a tile rejects an upright block is a useful constraint; it removes impossible approaches from later planning.
Think about separated blocks as two linked tasks
The listed Space control is used to switch between blocks when a mechanism separates them. First establish which piece is currently active. Move one piece to a useful waiting position, switch deliberately, and plan the second piece's route. Pressing a movement key before confirming the active piece can undo a carefully prepared arrangement.
Do not assume that the two pieces must take identical paths. Their positions and access to tiles may differ. The task is to create a configuration that permits the intended reunion and onward route. Work backward from that configuration just as you worked backward from the exit. Keep one piece safe while solving the other piece's approach.
Use a route notebook that includes state
A long string of arrows is fragile: one missed input makes every later key wrong. Divide a solution into landmarks instead. Write a short note such as upright at the wide platform, bridge open, flat along the narrow strip. These checkpoints let you recognize whether the route is still correct before committing to the next section.
If you do record keys, pair each short sequence with its starting state. A sequence that works from an upright position may fail from a flat one. Verify the block's orientation and the switch configuration at the checkpoint. This makes your notes useful for understanding, rather than merely for replaying a memorized performance.
Find the earliest wrong assumption
When a run fails near the exit, the mistake may have happened much earlier. Perhaps you chose a route that could never create the final orientation. Return to the last state where two meaningful options existed. Compare what each option changes. Repeating the final few moves is unlikely to help if the approach itself is impossible.
When a run fails at an edge, inspect the exact footprint you predicted. Did you forget that an upright block would tip across two tiles? Did you confuse a sideways roll with a roll along the long axis? Naming the geometry error makes it easier to prevent on the next board.
Keep input slow enough to verify
Use individual key presses while learning a route. Holding a direction may move farther than intended, especially when you are trying to stop beside a gap. Wait until the block's animation completes before deciding its next footprint. Speed is not a substitute for a correct state, and an accidental extra roll can discard several minutes of careful planning.
On a laptop, click the game area if the browser is scrolling instead of moving the block. Do not assume touch-only play has equivalent controls: the exact distributor listing identifies this build as not mobile ready. A keyboard is the clearest supported starting point. If a phone does not expose usable controls, choose a suitable device instead of installing a supposed fix.
Questions to ask before the next attempt
Why can I reach the hole but not finish? Check the orientation required for the last roll. The block needs the right approach state, not merely a nearby position. Trace the final two moves backward and build your route around them.
Should I always take the shortest path? No. A detour may be needed to change alignment, activate a mechanism or prepare a bridge crossing. First find a valid route. Only then consider whether any loop is unnecessary.
How do I improve without a walkthrough? Learn one reusable idea per session: predict the whole footprint, prepare a bottleneck, track a switch state or work backward from a target. Bloxorz becomes less mysterious when every failed attempt narrows the remaining possibilities.